Performance Prioritizing allows you to automatically rank products in your feed based on real WooCommerce performance data. This makes it easier to focus your advertising budget on products that generate orders and revenue.
This article explains how to enable Performance Prioritizing and how to use the available performance metrics inside filters and attribute mappings.
Enabling Performance Prioritizing
To start using Performance Prioritizing, follow these steps:
- Go to Feed Manager → Edit Feed.
- Locate the option Use Performance Prioritizing.
- Enable the checkbox.
After enabling this option, two additional settings will appear.
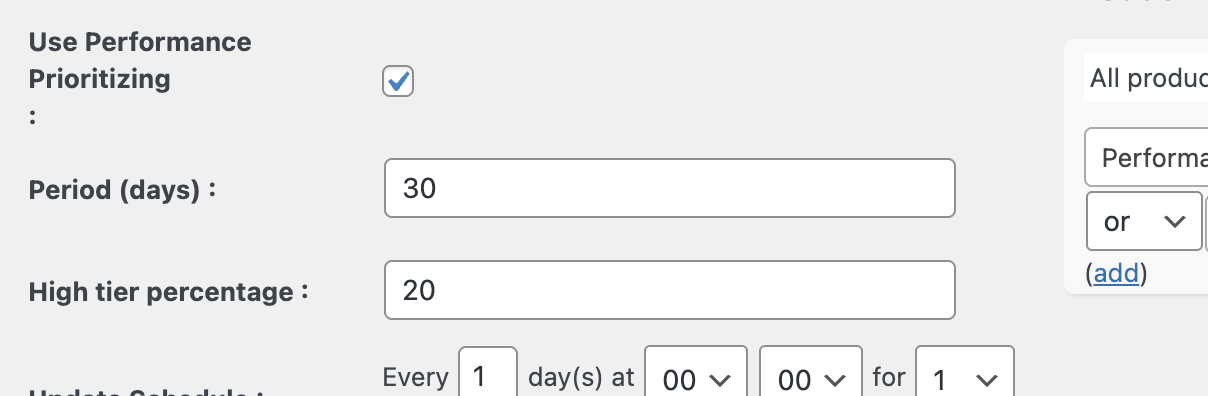
Period (days)
This setting determines how many historical days of WooCommerce data are used to calculate product performance.
Examples:
- 7–14 days → Suitable for stores with high order volume and fast‑moving inventory.
- 30 days → Recommended starting point for most stores.
- 60–90 days or more → Better for stores with lower order volume or seasonal products.
High-tier percentage
This setting defines what percentage of the best‑performing products will be classified as High performance.
Example:
If you set this value to 20%, the top 20% best‑performing products in the feed will receive the High performance label.
The remaining products will automatically be assigned to the Medium or Low performance tiers based on their relative performance.
Saving and Generating the Feed
After configuring Performance Prioritizing:
- Click Save Feed if you want to continue editing the feed.
- Click Save & Generate Feed when you are ready to generate the feed.
Performance metrics are calculated automatically during feed generation or scheduled feed updates.
There is no separate action required to update performance data.
Using Performance Metrics in Product Filters
Once Performance Prioritizing is enabled and the feed has been generated, new performance metrics become available in the Product Filter section.
Available performance metrics include:
- Performance (high / mid / low)
- Orders last N days
- Revenue last N days
Example: Excluding low‑performing products
You can exclude products that do not generate orders or revenue.
Example filter rule:
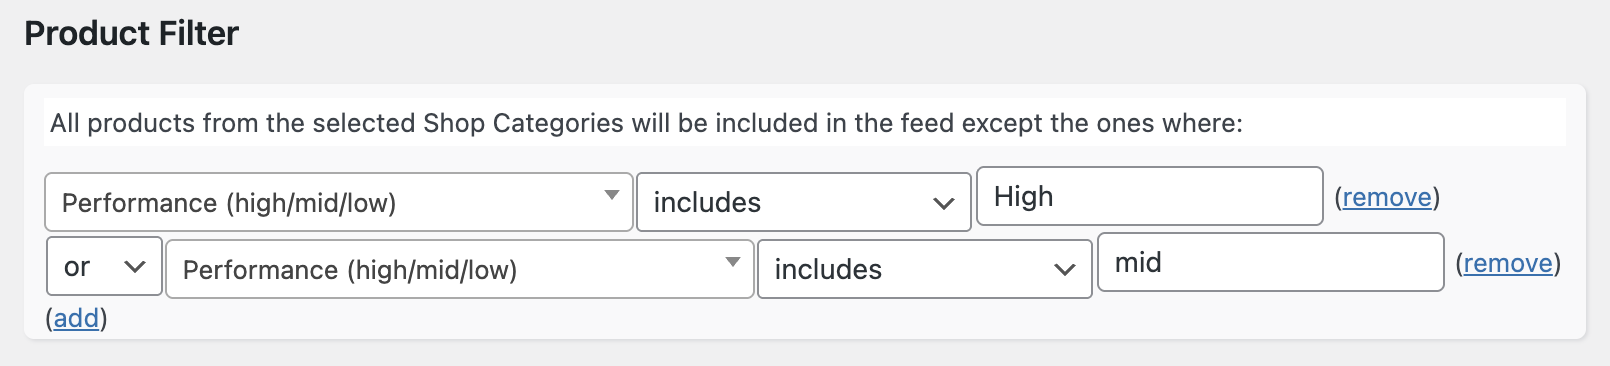
This can help reduce advertising spend on products that are unlikely to convert
Using Performance Metrics in Attribute Mapping
Performance metrics can also be used when adding data to feed attributes.
For example, you can assign performance tiers to Google Shopping custom labels.

Example: Mapping performance to custom_label_0
Attribute: custom_label_0
Source: Performance (high/mid/low)
This allows you to build campaign structures in Google Ads based on real store performance.
Example: Mapping revenue to custom_label_1
Attribute: custom_label_1
Source: Revenue last N days
This enables the creation of bidding strategies based on revenue levels.
How Performance Ranking Works
Products are ranked relative to other products that are included in the feed.
- The best‑performing products are assigned to the High tier.
- Average performers are assigned to the Medium tier.
- Products with weak or no performance are assigned to the Low tier.
New products may not yet have enough historical data to rank strongly.
Summary
Performance Prioritizing helps you automatically optimize your product feeds by using real WooCommerce performance data.
By using performance metrics in filters and attribute mappings, you can improve campaign efficiency and focus your marketing efforts on products that deliver results.
Performance Prioritizing allows you to automatically rank products in your feed based on real WooCommerce performance data. This makes it easier to focus your advertising budget on products that generate orders and revenue.
This article explains how to enable Performance Prioritizing and how to use the available performance metrics inside filters and attribute mappings.