How to Filter WooCommerce Products for Better Sales
Setting up the right product filters can completely change the way shoppers use your WooCommerce store. Some stores have seen up to 60 percent of e-commerce sites failing to provide an optimal filtering experience and losing out on sales.
Here is an overview table summarizing the main steps to filter WooCommerce products for better sales, along with the primary goal of each step and a difficulty estimate.
| Step | Key Action | Main Goal | Estimated Difficulty |
|---|---|---|---|
| 1 | Install a product filter plugin | Enable robust product filtering functionality | Easy |
| 2 | Configure the filter settings | Make filters relevant to your products | Moderate |
| 3 | Add filters to your product pages | Enhance user experience with visible filters | Moderate |
| 4 | Customize filter appearance and placement | Match your brand and improve usability | Moderate |
| 5 | Test the filters for functionality | Verify accuracy and responsive performance | Moderate |
| 6 | Monitor and optimize filter performance | Drive ongoing improvement with analytics | Moderate |
Quick Summary
| Key Point | Explanation |
|---|---|
| 1. Select a robust filter plugin | Choose a product filter plugin that integrates well with your WooCommerce setup and offers essential filtering features like attribute filtering and price range sliders. |
| 2. Configure filters based on products | Identify relevant attributes for your products to create intuitive filters that enhance customer navigation and lead to quicker product discovery. |
| 3. Test filters across devices and browsers | Ensure your filters function properly on various devices and browsers to provide a consistent and user-friendly shopping experience for all customers. |
| 4. Monitor filter performance regularly | Use analytics tools to track usage and effectiveness of filters, making data-driven adjustments to improve user engagement and conversion rates. |
| 5. Prioritize mobile responsiveness | Ensure filters are aesthetically appealing and functional on mobile devices, facilitating an effortless shopping experience for increasing mobile users. |
Step 1: Install a Product Filter Plugin
Unlocking better sales starts with implementing the right product filtering solution for your WooCommerce store. Product filter plugins transform how customers explore and discover products, making their shopping experience smoother and more intuitive. The key is selecting a robust plugin that integrates seamlessly with your existing e-commerce infrastructure.
Before diving into installation, you will need a few essential tools. WordPress administrators should look for plugins that offer comprehensive filtering capabilities. Some critical features to consider include price range sliders, attribute filtering, custom taxonomy support, and mobile responsiveness. Learn more about advanced filtering techniques to maximize your plugin’s potential.
To begin the installation process, navigate to your WordPress dashboard and select the Plugins section. Click “Add New” and search for WooCommerce product filter plugins. Popular options include WooCommerce Product Filter, WOOF Products Filter, and Advanced Product Filter. When choosing your plugin, prioritize solutions with high user ratings, recent updates, and compatibility with your current WooCommerce version.
After selecting your preferred plugin, click “Install Now” and then “Activate”. Most reputable plugins will guide you through initial configuration with helpful setup wizards. Take time to explore the plugin’s settings, testing various filter combinations to ensure they align with your product catalog’s unique characteristics.
Here is a table comparing popular WooCommerce product filter plugin options mentioned in the article, including their integration strength, notable features, and update frequency for easier plugin selection.
| Plugin Name | Integration Strength | Notable Features | Update Frequency |
|---|---|---|---|
| WooCommerce Product Filter | High | Price range slider, attribute filtering | Frequent |
| WOOF Products Filter | High | Attribute filtering, custom taxonomy support | Regular |
| Advanced Product Filter | High | Mobile responsiveness, hierarchical filters | Frequent |
| WP Marketing Robot Feed Mgr | High | Advanced filtering, conditional logic | Regular |
Careful plugin selection and thoughtful configuration are crucial. A well-implemented product filter can significantly reduce bounce rates, increase time on site, and ultimately drive more conversions by helping customers navigate your e-commerce store with unprecedented ease.
Step 2: Configure the Filter Settings
Configuring filter settings transforms your WooCommerce store from a static product catalog into a dynamic, user-friendly shopping experience. Explore our advanced filtering documentation to understand the nuanced approach needed for optimal results.
The configuration process requires strategic thinking about how customers interact with your product catalog. Begin by identifying the most relevant attributes for your specific product range. For e-commerce stores selling clothing, this might include size, color, and material. A hardware store would prioritize filters like brand, price range, and product type. Carefully map out the attributes that will help customers quickly locate their desired products.
Navigate to your newly installed plugin’s settings panel and examine the available filtering options. Most robust WooCommerce product filter plugins offer extensive customization. You will want to focus on creating filters that are both comprehensive and intuitive. According to research from the Baymard Institute, successful filtering requires balancing depth of options with user-friendly presentation.
Consider implementing a hierarchical filtering approach that allows customers to progressively narrow their search. For instance, first selecting a product category, then filtering by specific attributes within that category. This method reduces choice overwhelm and guides customers more effectively through your product selection. Pay special attention to creating smooth, responsive filter interactions that work seamlessly across desktop and mobile platforms.
After configuring your initial filter settings, conduct thorough testing. Simulate different customer search scenarios to ensure filters work correctly and provide meaningful results. Watch for potential friction points where customers might become confused or frustrated. The goal is to create a filtering system so intuitive that customers feel like the store was designed specifically for their shopping preferences.
Successful configuration means your product filters are not just functional, but genuinely enhance the shopping experience. They should reduce search time, increase product discovery, and ultimately drive more conversions by making product selection effortless and enjoyable.
Step 3: Add Filters to Your Product Pages
Adding filters to your product pages is a critical step in creating an intuitive shopping experience that drives conversions and reduces customer frustration.
Successful filter implementation requires strategic placement and thoughtful design. Most WooCommerce product filter plugins offer multiple integration methods, including sidebar widgets, top-of-page filter bars, and dropdown menus. Your goal is to create a filtering system that feels natural and seamless within your store’s design aesthetic. According to research from the Baymard Institute, the most effective product filters are both visually intuitive and functionally comprehensive.
Begin by selecting the most appropriate filter placement for your specific product catalog. Clothing stores might prefer a sidebar with size and color options, while electronics retailers could benefit from a top-page filter bar featuring brand and price range selections. Consider your customers’ typical browsing behavior and design filters that anticipate their search patterns.
Prioritize mobile responsiveness when adding filters to your product pages. With increasing mobile shopping traffic, your filter design must work seamlessly across different device sizes. Implement collapsible filter sections, touch-friendly sliders, and clear reset options that make navigation effortless on smartphones and tablets. Test your filter layout on multiple devices to ensure a consistent, user-friendly experience.
Customization is key to creating an exceptional filtering experience. Experiment with different filter styles, colors, and interactions that match your brand’s visual identity. Some plugins offer advanced customization options like saving recent filter selections, creating filter presets, or implementing dynamic price range sliders. These features can significantly enhance user engagement and make product discovery more enjoyable.
Verify your filter implementation by conducting thorough user testing. Ask friends, colleagues, or beta testers to navigate your store and provide feedback on the filtering experience. Watch for any points of confusion or friction that might prevent customers from finding their desired products. The ultimate measure of success is a filtering system so intuitive that customers feel like your store was designed specifically for their shopping preferences.
Step 4: Customize Filter Appearance and Placement
Customizing filter appearance and placement is more than a design choice—it’s a strategic approach to guiding customer behavior and enhancing product discovery. Learn more about advanced filter customization techniques to maximize your e-commerce potential.
The visual presentation of your product filters can significantly impact user engagement and purchasing decisions. According to research, interface aesthetics play a crucial role in directing customer attention and improving overall shopping experience. Begin by analyzing your current store design and identifying the most intuitive locations for filter placement.
Most WooCommerce filter plugins offer extensive customization options. Experiment with different filter styles that complement your store’s color scheme and branding. Consider creating a clean, minimalist design that doesn’t overwhelm customers but provides clear, accessible filtering options. Mobile responsiveness is critical—ensure your filters adapt seamlessly across different device sizes and screen resolutions.
Strategic filter placement can dramatically improve user navigation. Some effective approaches include sidebar filters for detailed browsing, top-of-page filter bars for quick refinement, and collapsible filter menus that save screen space. Think about your customers’ typical shopping journey and design filter placement that anticipates their needs. For instance, clothing stores might benefit from size and color filters prominently displayed, while electronics retailers could prioritize brand and price range options.
Color psychology plays a significant role in filter design. Use color contrasts that make filter options stand out without clashing with your overall design. Soft, complementary colors can guide user attention more effectively than harsh, jarring combinations. Pay attention to hover states, selected filter indicators, and reset button designs to create a cohesive and intuitive filtering experience.

Verify your customization by conducting thorough user testing. Ask friends, colleagues, or beta testers to navigate your store and provide honest feedback about filter usability. Watch for any moments of confusion or hesitation. The ultimate goal is creating a filtering system so smooth and intuitive that customers feel like the store was designed specifically for their shopping preferences.
Step 5: Test the Filters for Functionality
Testing filter functionality is the critical final step that transforms your WooCommerce product filtering from a theoretical concept into a practical, sales-driving tool.
Comprehensive testing requires a systematic and detailed evaluation of your product filters. According to research from the Baymard Institute, over 60% of e-commerce sites fail to provide an optimal filtering experience. Begin by creating a comprehensive testing checklist that covers multiple scenarios and user interactions.
Start with basic functionality testing. Apply individual filters and verify that they correctly narrow down product results. Check that price range sliders work smoothly, attribute filters select the right products, and multiple filter combinations produce accurate results. Pay special attention to edge cases, such as products with multiple attributes or complex pricing structures. Verify that filters handle these scenarios without breaking or producing unexpected results.
Mobile responsiveness is crucial during testing. Use different devices and screen sizes to ensure your filters work seamlessly across smartphones, tablets, and desktop computers. Test touch interactions, verify that dropdown menus expand correctly, and confirm that filter reset buttons function consistently. Ensure that the filter experience remains intuitive and user-friendly regardless of the device being used.
Perform cross-browser testing to guarantee compatibility. Check filter functionality in popular browsers like Chrome, Firefox, Safari, and Edge. Look for any rendering issues, interaction problems, or performance differences that might impact user experience. Some filters might behave differently across browsers, so thorough testing is essential to providing a consistent shopping experience.
Consider implementing user testing to gather real-world feedback. Invite a small group of potential customers or colleagues to navigate your store and provide honest insights about the filtering experience. Watch for moments of confusion, hesitation, or frustration. The most effective filters are those that feel so natural that customers barely notice them—they simply find their desired products quickly and effortlessly.
Your final verification involves tracking key performance metrics. Monitor changes in conversion rates, average time on site, and bounce rates after implementing your new product filters. These metrics will provide concrete evidence of how your filtering improvements impact overall store performance.
Step 6: Monitor and Optimize Filter Performance
Monitoring and optimizing filter performance transforms your WooCommerce store from a static catalog into a dynamic, customer-centric shopping experience.
Performance tracking begins with selecting the right analytics tools and key performance indicators. According to research from Amazon’s e-commerce science team, contextual filter performance goes beyond basic metrics. Integrate Google Analytics or WooCommerce-specific analytics plugins to track critical data points such as filter usage rates, conversion rates, and average time spent on product pages.
Carefully examine which filters customers use most frequently. Some filters might prove unexpectedly popular, while others could be rarely utilized. Pay special attention to filters that drive the highest conversion rates. This insight allows you to prioritize and refine your most effective filtering strategies. Consider conducting periodic user surveys to understand why certain filters resonate more strongly with your customer base.
Performance optimization requires continuous experimentation. A/B testing different filter designs, placement strategies, and interaction models can reveal surprising improvements in user experience. Track metrics like bounce rate, pages per session, and conversion rate to quantify the impact of your filter modifications. Some stores might discover that simplifying filter options increases user engagement, while others find that more detailed filtering improves customer satisfaction.
Technical performance is equally crucial. Monitor page load times and filter response speeds, as slow-loading filters can frustrate customers and potentially decrease sales. Implement caching mechanisms and optimize your database queries to ensure filters respond quickly across different device types. Regular performance audits help identify and resolve potential bottlenecks before they impact user experience.
Remember that filter optimization is an ongoing process. The e-commerce landscape evolves rapidly, and customer preferences change continuously. Schedule quarterly reviews of your filter performance, staying adaptable and willing to make data-driven adjustments. The most successful online stores treat their filtering system as a living, breathing component of their sales strategy—constantly monitored, refined, and improved to meet changing customer needs.
Unlock Effortless WooCommerce Feed Filtering and Skyrocket Your Sales
Struggling to turn complex WooCommerce catalogs into simple, revenue-generating product experiences? As detailed in this guide, effective filtering is the key to reducing bounce rates and helping shoppers find the right products faster. Yet, configuring product filters can be overwhelming if your tools are outdated or not fully optimized for your e-commerce goals. Many store owners face wasted hours, misconfigured filters, and missed sales opportunities.
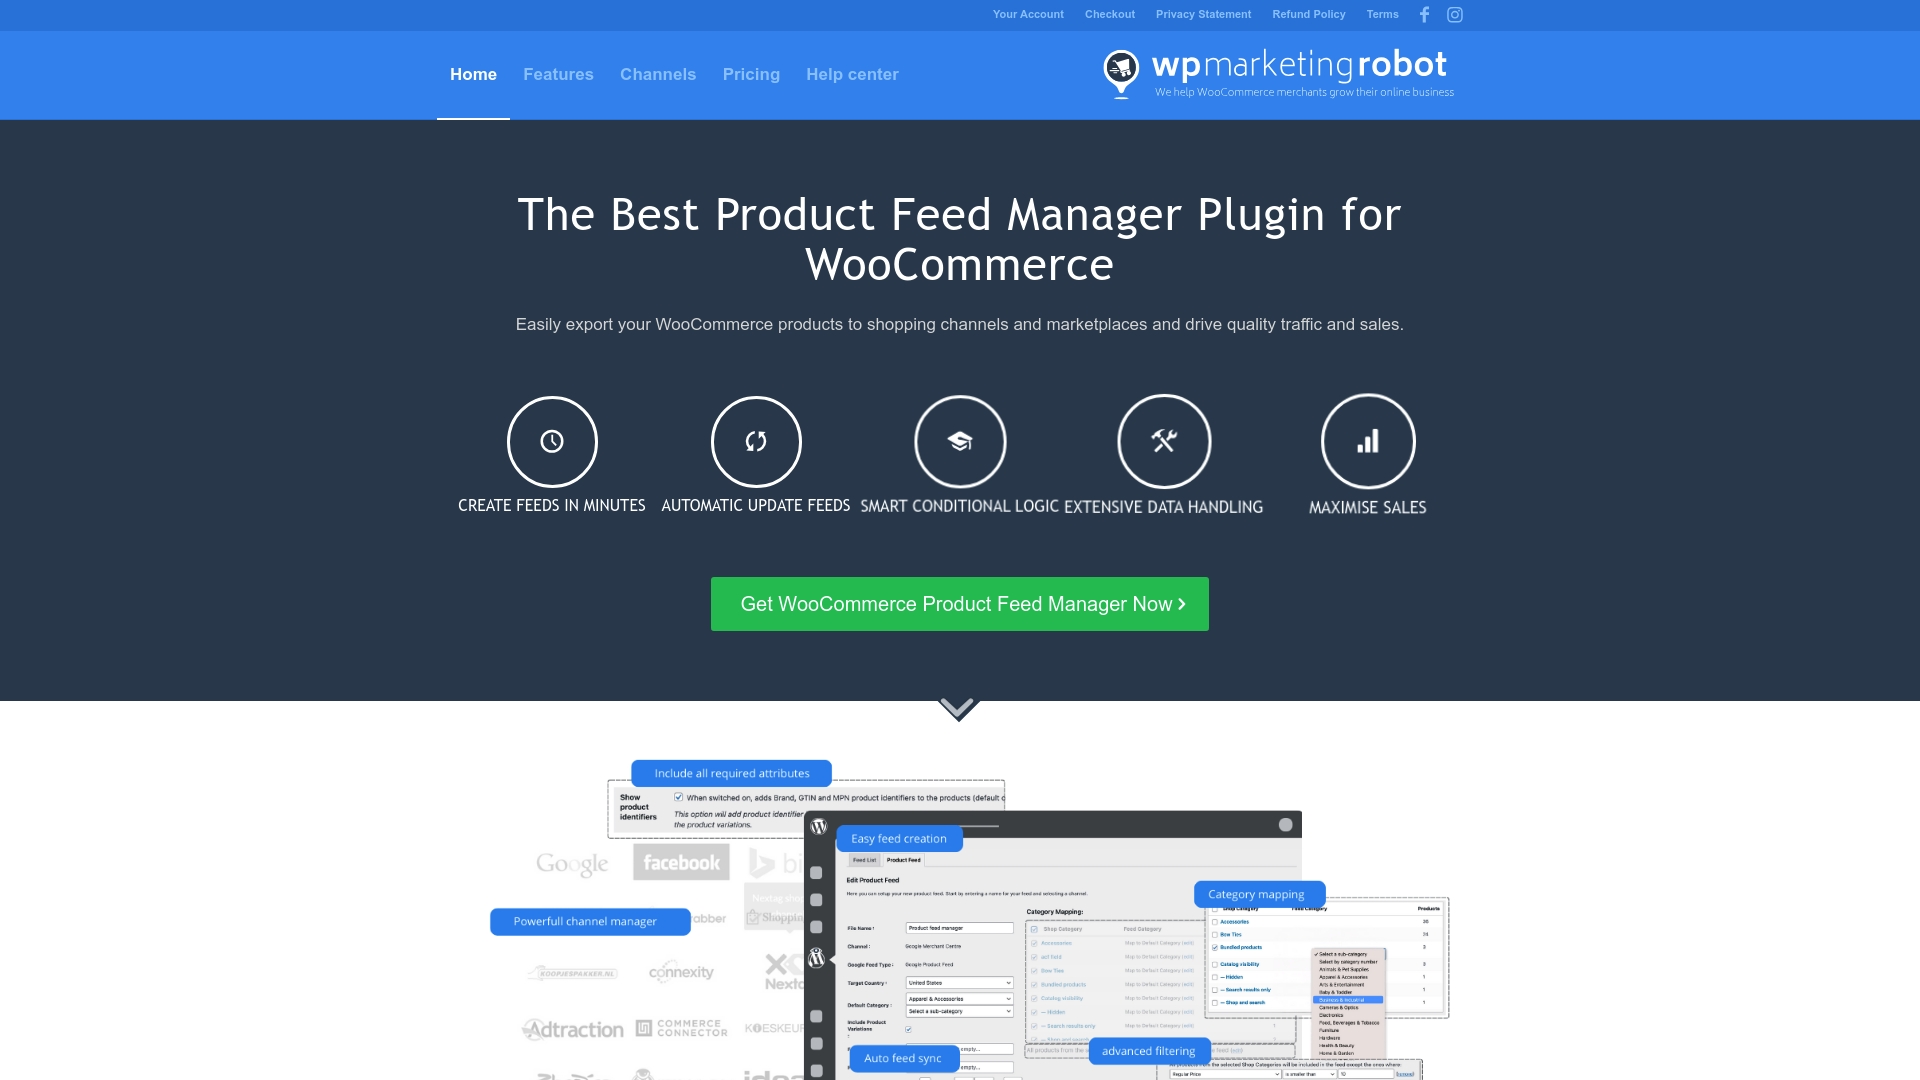
Take control today with WP Marketing Robot’s WooCommerce Product Feed Manager. Our robust plugin gives you advanced product feed filtering, comprehensive data handling, and smart conditional logic, making it simple to automate your feed setup and maximize product visibility across channels like Google Shopping and Amazon. Thousands of merchants trust our easy-to-use solution to drive more traffic and sales while saving time on manual product updates. Ready to finally feel confident that your customers always see the right products at the right time? Start your journey now with WP Marketing Robot and turn product filtering into a sales machine before your competition does.
Frequently Asked Questions
» How do I install a product filter plugin for WooCommerce?
To install a product filter plugin for WooCommerce, navigate to your WordPress dashboard, select the ‘Plugins’ section, and click ‘Add New’. Search for WooCommerce product filter plugins like WooCommerce Product Filter or WOOF Products Filter, then click ‘Install Now’ followed by ‘Activate’ after selecting your preferred plugin.
» What features should I look for in a WooCommerce product filter plugin?
When selecting a WooCommerce product filter plugin, consider features such as price range sliders, attribute filtering, mobile responsiveness, and custom taxonomy support to ensure a seamless and effective filtering experience for your customers.
» How can I configure the filter settings effectively?
To configure filter settings effectively, identify the most relevant attributes for your products, such as size and color for clothing or brand and price for electronics. Use a hierarchical filtering approach to guide customers through their options without overwhelming them.
» Why is it important to test the filter functionality?
Testing filter functionality is crucial to ensure that filters operate correctly and provide accurate results. Conduct basic functionality tests, mobile responsiveness checks, and cross-browser testing to identify any issues that could hinder the customer experience.


Leave a Reply
Want to join the discussion?Feel free to contribute!