Create a basic product feed in 4 steps.
Setting up a product feed with WooCommerce Product Feed Manager is a streamlined process, allowing you to efficiently create feeds for various channels, including Google Shopping. Follow these four straightforward steps to get started:
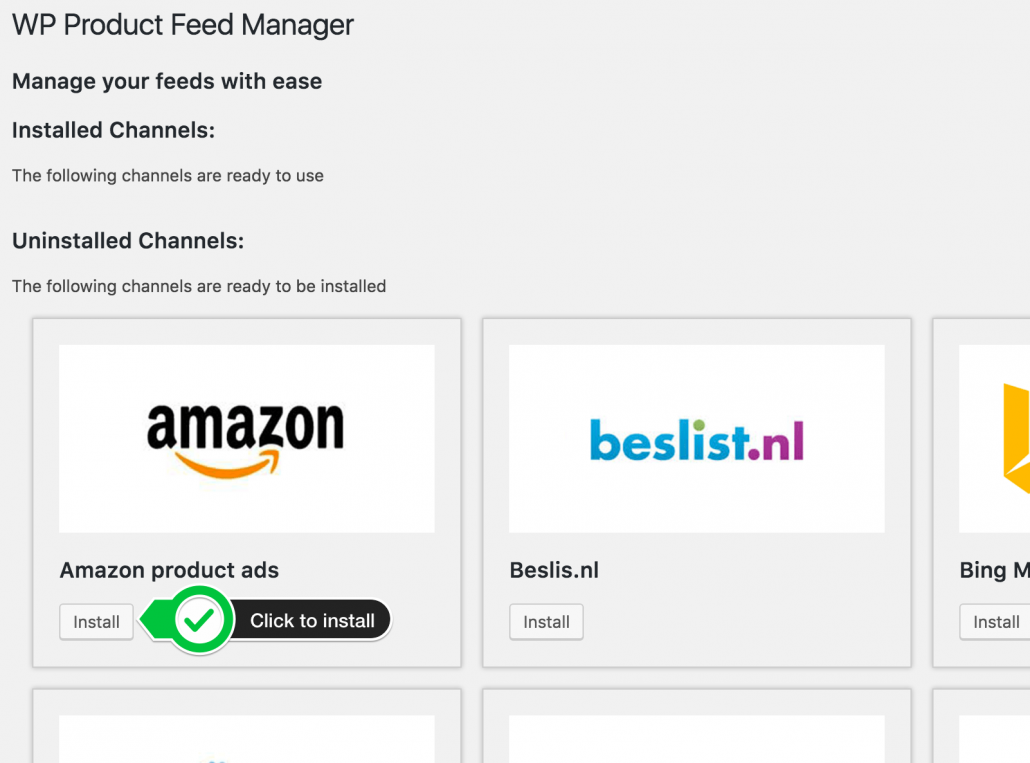
Step 1: Choose Channel Template
- After activating your license, navigate to the Product Feed menu and select “Manage Channels”.
- From the list, pick the channel you wish to create a feed for and click “Install”.
- Installed channels will appear under “Installed Channels”, ready for feed creation.
Step 2: Setup Feed Settings
- Feed Title & Country: Start by giving your feed a descriptive title and selecting the target country, as requirements may vary by location.
- Google Category Mapping: Establish a base category for your products to align with Google’s categories, ensuring accurate listing.
- Product Variations: Opt to include product variations to display items like different colors of a t-shirt as separate products in the feed.
- Feed Title & Description: Set a clear title and provide a detailed description for your feed for easy reference.
- Update Schedule: The default update schedule is daily at midnight, but you can customize this to suit your needs, up to 24 times a day.
- Product Filter: Use the filter below the category mapping tool to include or exclude products based on specific criteria, such as price thresholds.

Step 3: Attribute Mapping
- Map Attributes: Below the feed settings, you’ll find the attribute mapping section. Attributes necessary for your selected channel and language are listed, with most pre-mapped to your database sources.
- Assign Data: For attributes like Brand and GTIN, which may not be standard in WooCommerce, select the appropriate source from the “Select a Source Field” dropdown.
- Optional Attributes: At the bottom, the “Optional Attributes” section allows you to add non-mandatory attributes to enrich your feed data further.
Step 4: Access Feed URL and Manage Feeds
- After configuring and generating your feed, locate it in the Feed List by clicking on Feed Manager or the Feed List tab.
- The Feed List displays all your feeds, detailing their name, URL, last update, product count, type, status, and available actions.
- Utilize the Auto-on/off link to set your feed to update automatically according to your predetermined schedule.
By following these steps, you can efficiently create and manage your product feeds, enhancing your online shop’s visibility across various e-commerce channels. Remember, the above Feed setup process focuses on creating a Google Feed, but the process applies similarly to other supported channels as well.